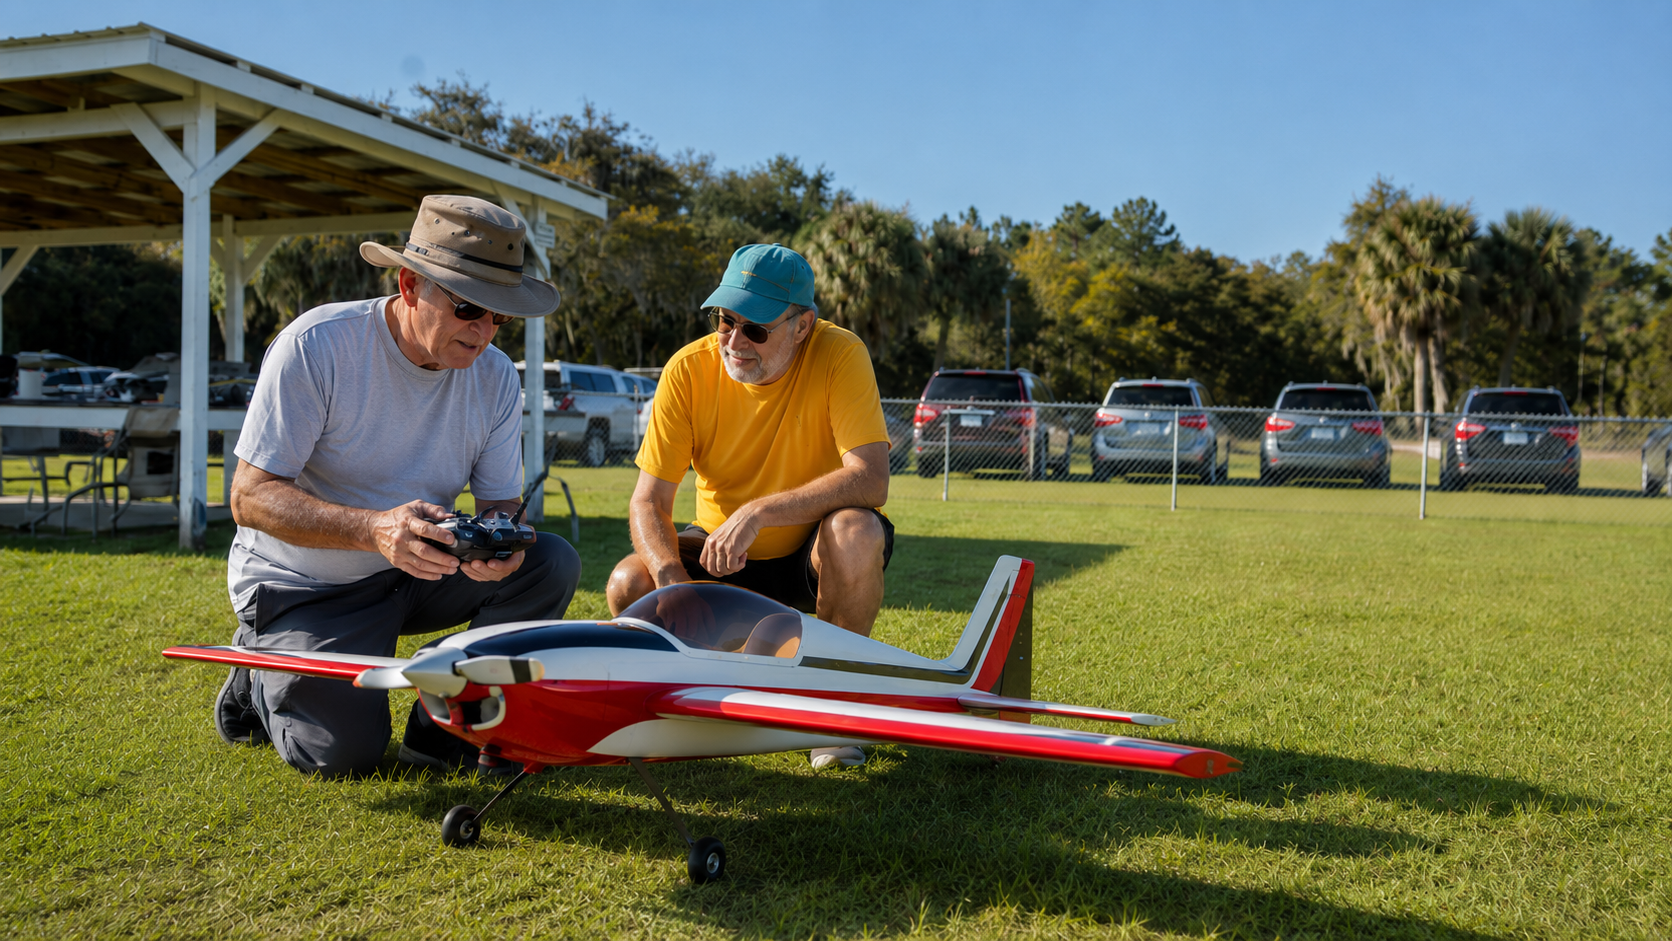
There is a special kind of silence just before a new model takes off for the first time. The airplane is assembled, the battery is connected, and every control surface appears to be moving exactly as intended. Fellow pilots pause to watch. The runway is clear. After weeks or months of building, programming, fitting, adjusting, and waiting, the model is finally ready to fly.
Or at least it looks ready.
A maiden flight is not simply the first time an airplane leaves the ground. It is the first complete test of the entire system. Airframe, radio, power system, control setup, balance, pilot, and weather must all work together. A mistake in any one of those areas can turn a promising model into a collection of spare parts before the first circuit is complete.
The safest maiden flights are usually the least dramatic. The airplane accelerates smoothly, climbs under control, requires only minor trimming, completes a few predictable circuits, and lands with plenty of battery remaining. That kind of result is rarely luck. It comes from careful planning.
Complete the Airplane at Home
The flying field is not the ideal place to finish building an airplane.
Before the model is loaded into the vehicle, perform a complete inspection in a well-lit workspace. Check every control surface, hinge, pushrod, clevis, horn, connector, and fastener. Pull gently on each surface and linkage. Nothing should shift, loosen, or separate.
Confirm that screws threaded into metal have the appropriate thread-locking compound where required. Verify that wood screws are tight without being stripped. Check that servo arms are fully seated and secured with their retaining screws. Make sure clevises cannot open in flight and that pushrods do not bind throughout their full range of motion.
Inspect the landing gear closely. A loose wheel collar, partially tightened axle, or weak gear mount may not appear important on the workbench, but it can create serious problems during takeoff or landing.
The propeller and spinner also deserve careful attention. Confirm that the propeller is installed in the correct orientation and that the propeller nut is secure. A propeller installed backward may still produce thrust, but performance will be greatly reduced.
Finally, shake the airplane gently. Listen for loose objects inside the fuselage. Batteries, receivers, wires, ballast, and electronic speed controllers must remain secure under vibration, acceleration, and abrupt changes in direction.
Confirm the Center of Gravity
An airplane with slightly imperfect trim can usually be corrected in flight. An airplane with a dangerously incorrect center of gravity may not remain controllable long enough to make those corrections.
Begin with the center-of-gravity range recommended by the manufacturer or designer. For a maiden flight, the forward portion of that range is generally the more conservative starting point. A slightly nose-heavy airplane may require more speed and elevator authority, but it is usually more stable than one that is tail-heavy.
Balance the model exactly as it will fly. Install the battery, propeller, spinner, canopy, landing gear, and any accessories. Empty fuel tanks should be handled according to the model’s instructions, while electric models should be balanced with the actual flight battery installed.
Do not rely on guesswork or assume that the battery location shown in a manual will automatically produce the correct balance. Manufacturing tolerances, repairs, optional equipment, and different components can change the final result.
Also check lateral balance. Support the airplane at the spinner and tail, then observe whether one wing consistently drops. A significant imbalance can cause the model to roll or require constant aileron correction.
Set Conservative Control Throws
More control movement is not always better.
Excessive elevator or aileron throw can make a new model feel unstable, especially when the pilot does not yet know how quickly it responds. Use the manufacturer’s recommended low-rate settings for the first flight whenever possible.
Program high rates as a backup, but begin the flight on low rates. Add a moderate amount of exponential if it is appropriate for the transmitter and flying style. Exponential can soften control response near the center of the sticks while preserving full travel near the extremes.
After programming, check the actual physical movement of every control surface. Do not assume that a percentage shown on the transmitter equals the recommended measurement at the surface.
Most importantly, confirm control direction.
Stand behind the airplane and move each transmitter stick deliberately. Right aileron input should raise the right aileron and lower the left. Up-elevator input should raise the elevator. Right-rudder input should move the rudder to the right.
Repeat the check immediately before takeoff. Reversed controls remain one of the most preventable causes of maiden-flight crashes.
Inspect the Radio Installation
The receiver should be mounted securely and protected from excessive vibration. Antennas must be positioned according to the receiver manufacturer’s recommendations and kept away from materials or equipment that could reduce signal quality.
Check every servo connection. Extensions should be fully seated and secured when necessary. Wires must be routed away from moving linkages, sharp edges, hot components, and rotating parts.
Program and test the failsafe. For most electric aircraft, loss of signal should result in the motor stopping while the control surfaces move to appropriate positions. Remove the propeller before performing indoor failsafe tests involving the throttle system.
A proper range test is essential. Follow the radio manufacturer’s procedure, using reduced-power mode where applicable. Walk the recommended distance from the airplane while moving the controls and observing their operation. Test the model from several orientations, because antenna position can affect performance.
Make sure the transmitter battery and receiver power source are fully charged. A maiden flight is not the time to use a questionable battery or continue flying after a low-voltage warning.
Test the Power System
Electric power systems should be tested with a wattmeter whenever there is uncertainty about the motor, propeller, ESC, or battery combination. Measure current and power at full throttle, then compare the results with the limits of every component.
The ESC should have adequate current capacity, and the battery must be capable of supplying the required load. The motor must remain within its published current and power limits.
Confirm that the motor rotates in the correct direction. If it does not, disconnect the battery and swap any two of the three motor wires on a brushless setup. Never reverse the propeller as a substitute for correcting motor direction.
Run the power system long enough to verify smooth operation, but avoid extended full-throttle testing on the ground. Cooling airflow is usually much lower when the airplane is stationary. After the test, check the motor, ESC, battery, and connectors for abnormal heat.
The flight battery must be held securely. Hook-and-loop straps, trays, and retaining blocks should prevent movement in every direction. Adhesive-backed material alone may not be sufficient in a high-performance model.
Choose the Right Conditions
A maiden flight should not be used to prove that an airplane can handle difficult weather.
Choose a day with light, steady wind, good visibility, and comfortable temperatures. Wind direction should favor the primary runway. Gusty or crosswind conditions add complications that are unnecessary during an initial test.
Consider the position of the sun. A clear sky is not helpful if the airplane disappears into glare during the first turn.
The flying field should provide enough runway and open airspace for the model. Avoid crowded conditions when possible. A busy event, active flight line, or audience gathered around the pilot can increase pressure and distraction.
Take time to inspect the runway. Look for standing water, tall grass, holes, debris, or surface changes that could affect small wheels. Identify nearby trees, fences, buildings, roads, and other obstacles before launching.
Create a Flight Plan
A maiden flight should have a defined purpose. That purpose is not to explore the airplane’s entire performance envelope.
The first goal is to establish a safe climb. The second is to trim the airplane. The third is to confirm basic handling and land safely.
Before takeoff, decide which direction the first turn will be made. Plan the initial climb path and establish a safe altitude before making trim adjustments. Know where the landing pattern will begin and what direction the final approach will follow.
Once airborne, maintain a moderate climb angle. Avoid pulling sharply into a steep ascent, even if the model appears powerful. Allow the airplane to gain airspeed and altitude gradually.
At a safe height, reduce power to a comfortable cruise setting and make small trim changes. One or two clicks at a time are usually enough. Large trim changes may indicate a mechanical or balance problem.
Test gentle turns in both directions. Observe whether the airplane maintains altitude, drops a wing, pulls to one side, or requires unusual amounts of control input.
A brief stall check may be useful for an experienced pilot, but it should be performed high enough for recovery and only after the airplane is trimmed. Full aerobatics, maximum-speed passes, aggressive snaps, and prolonged inverted flight can wait.
Bring an Experienced Helper
A second person can improve both safety and decision-making.
A helper can carry the airplane, connect the battery, install the canopy, restrain the model during testing, and watch for people entering the runway. During the flight, a spotter can monitor the time, call out traffic, observe the landing gear, and identify hazards the pilot may not see.
For complex, expensive, unusual, or high-performance models, asking an experienced pilot to perform the maiden flight may be the smartest decision. Building or owning the airplane does not obligate anyone to conduct the first flight personally.
A qualified test pilot can evaluate the model, make initial trim adjustments, and report how it behaves. The owner can take over after the airplane has demonstrated predictable handling.
Fly Smoothly and Stay Close
The first flight is a data-gathering exercise.
Keep the airplane within a comfortable viewing distance. Avoid climbing so high that orientation becomes difficult or flying so far away that small control movements are hard to see.
Use smooth inputs. Sudden stick movements can hide the difference between a setup problem and pilot-induced instability. A model that appears sensitive may simply be responding to too much control movement.
Listen to the power system. A changing motor sound, pulsing ESC, vibration, or sudden loss of performance may indicate a propeller, battery, connector, or drivetrain problem.
Watch for unusual trim changes. An airplane that begins requiring more elevator, aileron, or rudder during the flight may have a shifting battery, loosening linkage, structural problem, or failing servo.
When something does not feel right, land. There is no prize for extending a maiden flight after a warning sign appears.
Plan the Landing Early
Do not wait for a timer alarm or low-voltage cutoff before thinking about the landing.
Begin the landing sequence with a generous reserve. Make a practice approach at altitude to observe how the airplane slows and how much power it needs to maintain a stable descent.
Enter a familiar traffic pattern and avoid an excessively long final approach. Maintain enough airspeed to preserve control authority, especially with a nose-heavy model or one carrying a high wing loading.
Use throttle to manage the descent and elevator to control attitude. Do not force the airplane onto the runway. Allow it to settle as speed decreases.
Be prepared to go around. A poor approach does not become better simply because the airplane is close to the ground. Adding power and trying again is usually safer than attempting to rescue a badly aligned landing.
Inspect Before the Second Flight
After landing, disconnect the battery and inspect the airplane carefully.
Check motor, ESC, battery, and connectors for heat. Look for loose screws, shifted equipment, damaged landing gear, stressed hinges, or movement in the wing attachment. Examine the propeller for cracks or damage.
Review the trim settings and make mechanical adjustments where appropriate. If a large amount of transmitter trim was required, adjust the linkage so the electronic trim can be returned closer to center.
Record battery usage, flight time, control response, balance impressions, and any unusual behavior. Small details are easily forgotten once the excitement of a successful maiden begins to fade.
Treat the second flight as another test flight. Increase the envelope gradually, making one meaningful change at a time. Do not change the center of gravity, propeller, control throws, and battery position all at once. Controlled changes make it easier to understand how each adjustment affects the airplane.
A successful maiden flight is not defined by applause, speed, aerobatics, or a perfect landing. It is defined by preparation, sound judgment, and returning the airplane safely for another flight.
When the model rolls to a stop and the motor shuts down, the best result is not a dramatic story. It is the quiet satisfaction of knowing that the airplane behaved as expected because the pilot planned for success before advancing the throttle.
Have Questions?
Contact us about visiting the field, learning to fly, upcoming events, or club membership. We look forward to connecting with you.