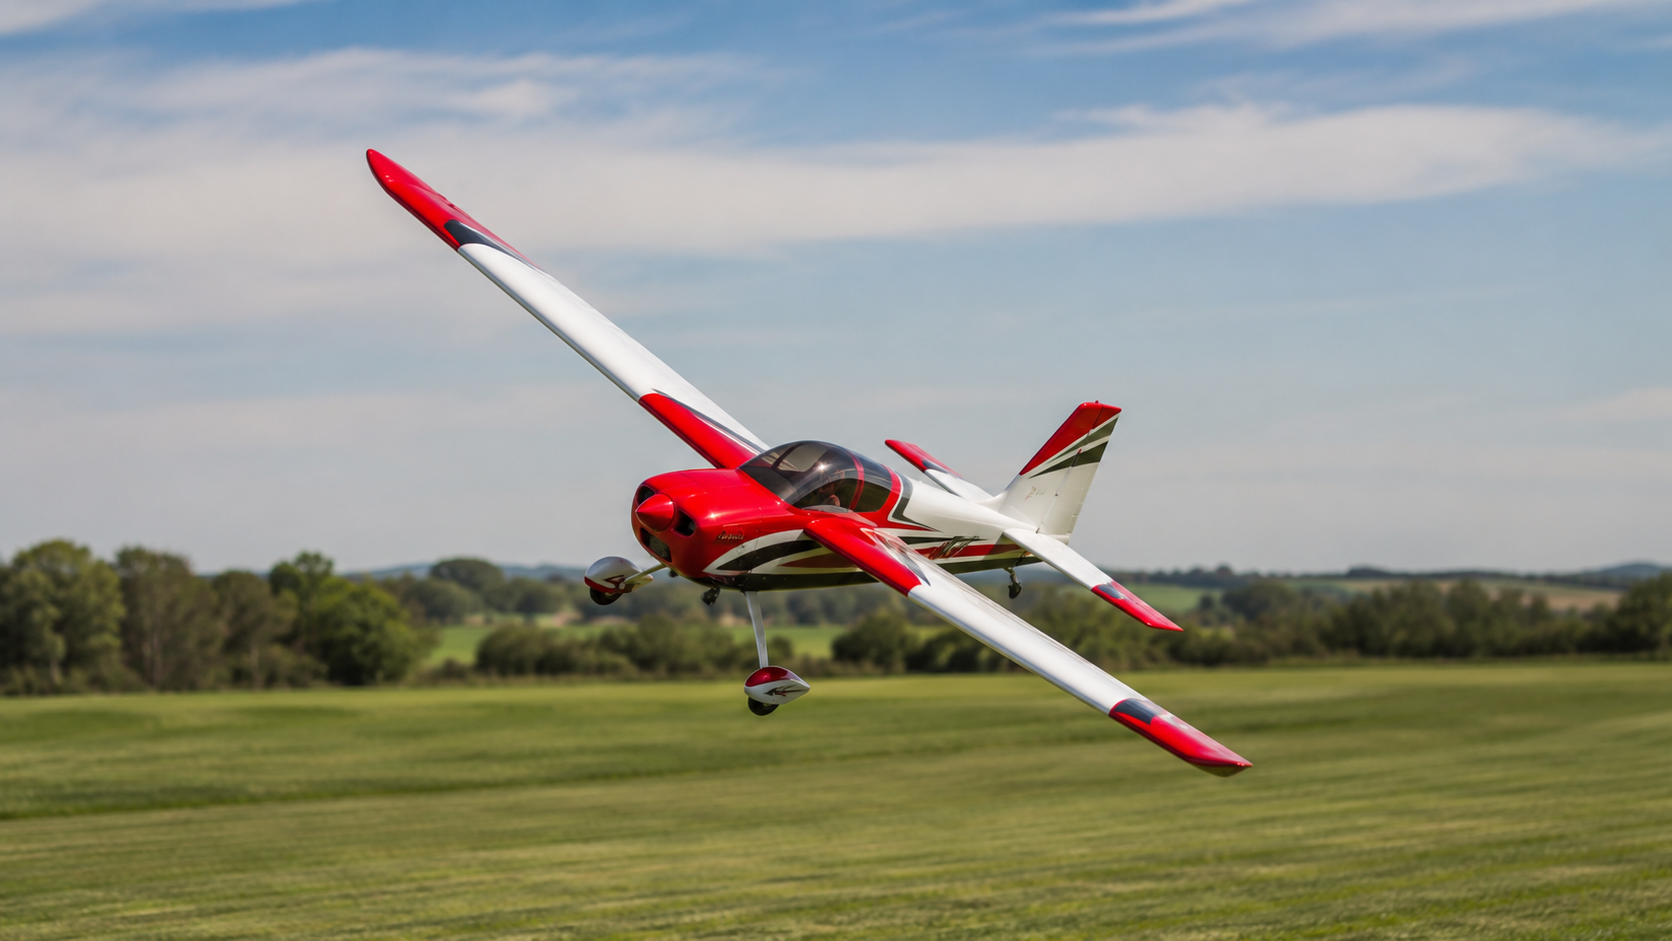
The airplane is flying straight and level, the wings are steady, and the next turn appears simple. You move the aileron stick to the right, expecting the model to bank neatly in that direction. The right wing drops, but for a brief moment the nose seems to swing left.
Nothing is broken. The airplane is demonstrating one of the most important aerodynamic effects an RC pilot can learn to recognize: adverse yaw.
Adverse yaw is the tendency of an airplane’s nose to move opposite the direction of roll when the ailerons are applied. It is often subtle, but on the right model it can be impossible to miss. Long-wing sailplanes may swing noticeably. Trainers may appear reluctant to enter a turn. Scale models can skid awkwardly through the sky. Even aircraft with relatively mild adverse yaw can look smoother and fly more efficiently when the pilot learns to coordinate aileron and rudder correctly.
Understanding this effect is one of the steps that separates simple bank-and-yank flying from true stick-and-rudder piloting.
What Causes Adverse Yaw?
To understand adverse yaw, begin with what happens when the ailerons move.
Suppose the pilot commands a right roll. The right aileron moves upward, reducing lift on the right wing. The left aileron moves downward, increasing lift on the left wing. The greater lift on the left side raises that wing while the reduced lift on the right allows the right wing to descend.
The airplane rolls right, exactly as expected.
The complication is that lift and drag are closely connected. The down-going aileron on the left wing does not only create more lift. It also creates more drag. At the same time, the raised aileron on the right wing generally produces less lift and less drag.
The left wing is therefore being pulled backward more strongly than the right wing. That drag imbalance yaws the nose to the left, opposite the direction of the commanded right roll.
That opposite movement is adverse yaw.
The effect is strongest during the initial rolling motion. Once the airplane reaches the desired bank angle and the ailerons return closer to neutral, the drag difference decreases. However, the poorly coordinated entry may already have caused the airplane to skid, lose energy, change heading awkwardly, or begin the turn with the nose pointed in the wrong direction.
Which Models Show the Most Adverse Yaw?
Not every RC airplane displays adverse yaw equally.
Gliders and sailplanes are often the clearest examples. Their long wings create large differences in drag between the two sides of the airplane during a roll. A sailplane may respond to an aileron input with a slow roll and a very noticeable swing of the nose in the opposite direction.
High-wing trainers can also show substantial adverse yaw. Their stable design helps new pilots remain upright, but the same geometry may make turns feel slow or reluctant without rudder assistance.
Vintage models, Cubs, observation aircraft, and other scale airplanes frequently require coordinated rudder. Many full-scale aircraft from earlier eras were designed around active rudder use, and their RC counterparts often reward the same technique.
Short-wing aerobatic models usually show less obvious adverse yaw because they tend to have powerful ailerons, quicker roll rates, and control systems designed for crisp response. Jets and high-speed sport models may also seem less affected. The aerodynamic principle is still present, but its visible effect may be reduced by the aircraft’s proportions, speed, control geometry, and design.
A pilot who flies only modern aerobatic models may develop the habit of using little rudder in ordinary turns. That habit quickly becomes apparent when the same pilot takes control of a sailplane, trainer, or scale model.
What Is a Coordinated Turn?
A coordinated turn occurs when the airplane’s roll, yaw, and pitch are working together.
The airplane banks into the turn, the nose follows the curved flight path, and the aircraft remains aligned with the airflow. The model is neither sliding sideways toward the outside of the turn nor being forced excessively toward the inside.
A poorly coordinated turn usually takes one of two forms.
In a skid, too much rudder is applied in the direction of the turn. The tail is pushed outward, and the airplane is forced around the corner more aggressively than the bank angle supports.
In a slip, there is not enough rudder in the direction of the turn, or rudder is applied against the turn. The airplane moves somewhat sideways through the air, with the nose pointing away from the actual flight path.
Slips can be intentional and useful, especially during landing approaches. Skids near a stall, however, can be dangerous because they may encourage an abrupt wing drop or spin entry.
During normal turning flight, the goal is coordination.
The Role of Rudder
Many new RC pilots think of the rudder mainly as a ground-steering control. It keeps the airplane straight during takeoff, corrects a crosswind, and helps guide a taildragger while taxiing.
In the air, however, the rudder has a much broader job.
When aileron is applied to begin a turn, a small amount of rudder in the same direction helps counter the adverse yaw. In a right turn, right aileron is accompanied by right rudder. In a left turn, left aileron is accompanied by left rudder.
The key word is accompanied. The rudder should support the roll, not overpower it.
The correct amount depends on the airplane. A high-performance aerobatic model may require only a touch. A vintage high-wing airplane may need a clearly visible rudder input. A sailplane may require substantial rudder throughout the rolling entry.
The pilot learns the correct amount by watching the nose. If the nose swings opposite the roll, more rudder coordination is needed. If the nose hooks sharply into the turn or the tail appears to swing outward, too much rudder is being used.
How to Make a Coordinated Turn
A smooth turn can be divided into four phases: entry, establishment, maintenance, and rollout.
Entering the Turn
Begin with the airplane flying at a comfortable speed and a safe altitude. Apply aileron in the desired direction while adding a smaller amount of rudder in the same direction.
The inputs should begin nearly together. On many aircraft, the rudder input is lighter than the aileron input, though some sailplanes may require surprisingly strong rudder use.
Watch the nose as the bank develops. It should begin moving smoothly into the turn rather than swinging away from it.
Establishing the Bank
As the airplane reaches the desired bank angle, reduce the aileron input toward neutral. Continuing to hold aileron will cause the model to keep rolling into a steeper bank.
The rudder may also be reduced, although some aircraft require a small amount of rudder to remain coordinated during the turn.
A shallow training turn might use 15 to 25 degrees of bank. A normal traffic-pattern turn may use closer to 30 degrees. Steeper banks require more elevator and greater attention to airspeed.
Maintaining Altitude
As the airplane banks, part of the wing’s lift is directed sideways to produce the turn. Less lift remains available to oppose gravity.
The pilot must therefore add a small amount of up-elevator to maintain altitude.
Too little elevator allows the nose to drop and the airplane to descend. Too much elevator increases drag, reduces airspeed, and may bring the airplane closer to a stall.
The correct input is usually gentle. A coordinated turn should look like one continuous maneuver, not a series of separate corrections.
Rolling Out
To exit the turn, apply aileron opposite the bank while adding matching rudder in the same direction as the rollout.
For example, when rolling out of a right turn, use left aileron with a small amount of left rudder. As the wings approach level, return both controls to neutral and release the extra elevator pressure.
A clean rollout ends with the wings level, the nose on the intended heading, and no visible fishtail.
Common Coordination Mistakes
One common error is using too much rudder. Pilots who first discover coordinated turns sometimes begin forcing every turn with the rudder. The result is a model that hooks into turns, loses speed, and looks uncomfortable in the air.
Another mistake is holding aileron throughout the entire turn. Ailerons establish and adjust the bank angle. Once the bank is set, they are usually returned near neutral.
Excessive elevator is also common. The pilot sees the nose drop, pulls hard, and creates a slow, drag-heavy turn. In severe cases, the inside wing may stall.
Some pilots reverse the rudder during the turn because they see the bank and instinctively try to keep the nose from dropping inward. This creates a slip and makes the controls work against one another.
Finally, many coordination problems are actually airspeed problems. A model that is too slow may feel unresponsive, require larger control inputs, and lose altitude rapidly in turns. Coordination becomes easier when the aircraft is flown at a healthy, appropriate speed.
Practicing Coordinated Turns
Begin practice several mistakes high.
Fly parallel to the runway or another clear reference line. Enter a shallow turn using aileron and same-direction rudder. Watch the airplane’s nose carefully.
Try the maneuver in both directions. Most pilots have a preferred turning direction, and it is common for one side to feel smoother than the other.
Next, practice large circles at constant altitude. Concentrate on maintaining a consistent bank angle, smooth heading change, and steady airspeed.
Figure-eight patterns are especially useful because they require repeated transitions between left and right turns. They reveal whether the pilot is using equal coordination in both directions.
Avoid rapid stick movements. Slow, deliberate inputs make it easier to see what each control is doing. Once the correct movement becomes familiar, the coordination will gradually become automatic.
Aileron Differential and Electronic Mixing
Aircraft designers and radio programmers have several ways to reduce adverse yaw.
Aileron differential causes the upward-moving aileron to travel farther than the downward-moving aileron. This reduces the extra drag created by the down-going aileron.
Many trainers and gliders have differential built into their mechanical linkage. Modern transmitters can also create differential electronically when each aileron is connected to a separate radio channel.
Rudder-to-aileron mixing automatically adds rudder when aileron is applied. This can make turns smoother, especially on scale airplanes and sailplanes.
Mixing should be used carefully. Too much can create skidding turns, and one fixed mix may not be ideal at every airspeed or control setting.
The best approach is to establish proper control geometry first, then use a modest amount of programming if needed. Electronic assistance can refine the airplane, but it should not prevent the pilot from learning how coordination works.
Why Coordination Matters
A coordinated airplane looks better in the air, but the benefits are more than cosmetic.
Coordinated turns preserve energy, reduce unnecessary drag, and make the flight path more predictable. They improve traffic-pattern accuracy and help the pilot maintain control during slow flight.
For sailplane pilots, good coordination can mean tighter, more efficient thermal turns. For scale pilots, it creates the smooth, believable movement that makes a model resemble the full-scale aircraft. For aerobatic pilots, rudder coordination supports rolling maneuvers, knife-edge flight, stall turns, and precise heading control.
Even ordinary sport flying becomes more satisfying when the airplane moves as one complete machine rather than as separate wings, nose, and tail.
Building Better Flying Instincts
The most important instrument available to an RC pilot is the airplane itself.
Watch the nose as the model begins to roll. Watch whether the tail swings outward. Notice whether the airplane loses speed or altitude in the turn. Pay attention to whether one direction feels different from the other.
Over time, the pilot no longer thinks, “aileron, then rudder, then elevator.” The inputs blend together naturally. The hands begin making small corrections before the errors become visible.
That is the real goal of coordinated-turn practice.
Adverse yaw is not a defect to be eliminated completely. It is an aerodynamic characteristic to be understood and managed. Once a pilot learns to recognize it, rudder becomes more than a rarely used control surface. It becomes an essential part of smooth, accurate flying.
The next time the model banks one way while the nose briefly swings the other, do not fight the airplane with larger aileron inputs. Add the missing coordination, smooth the turn, and let all three axes work together.
Have Questions?
Contact us about visiting the field, learning to fly, upcoming events, or club membership. We look forward to connecting with you.